How to create a certificate request and add it in Thinfinity® Workspace

Create a certificate request in Thiinfninity Workspace
Picture of Leonardo Laurencio
Leonardo Laurencio

CSO - Cybele Software

Table of contents

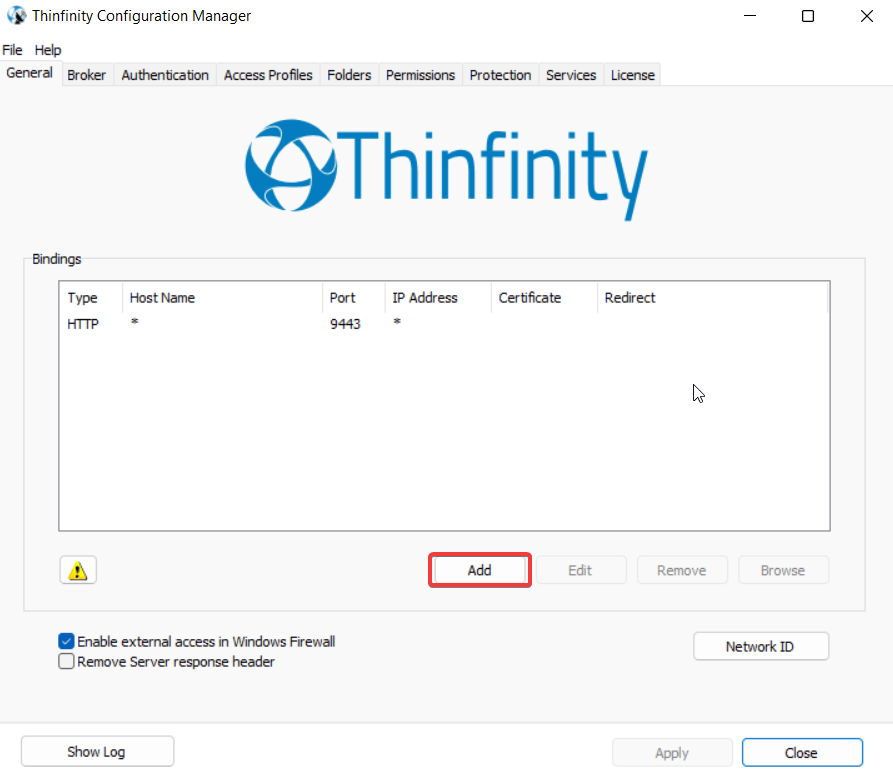
In order to create a certificate request, we will have to open Thinfinity® Workspace Broker and select “Add”

Create a certificate request and add it in Thinfinity Remote Workspace, step 01

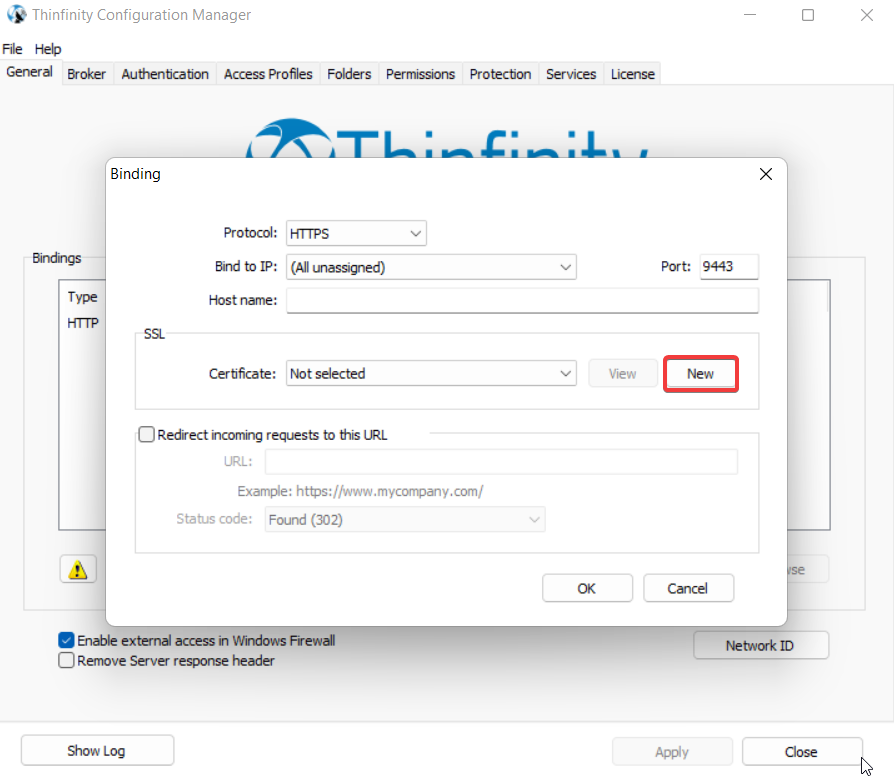
In here, the protocol should be changed to “HTTPS” and click on “New”.

Create a certificate request and add it in Thinfinity Remote Workspace, step 02

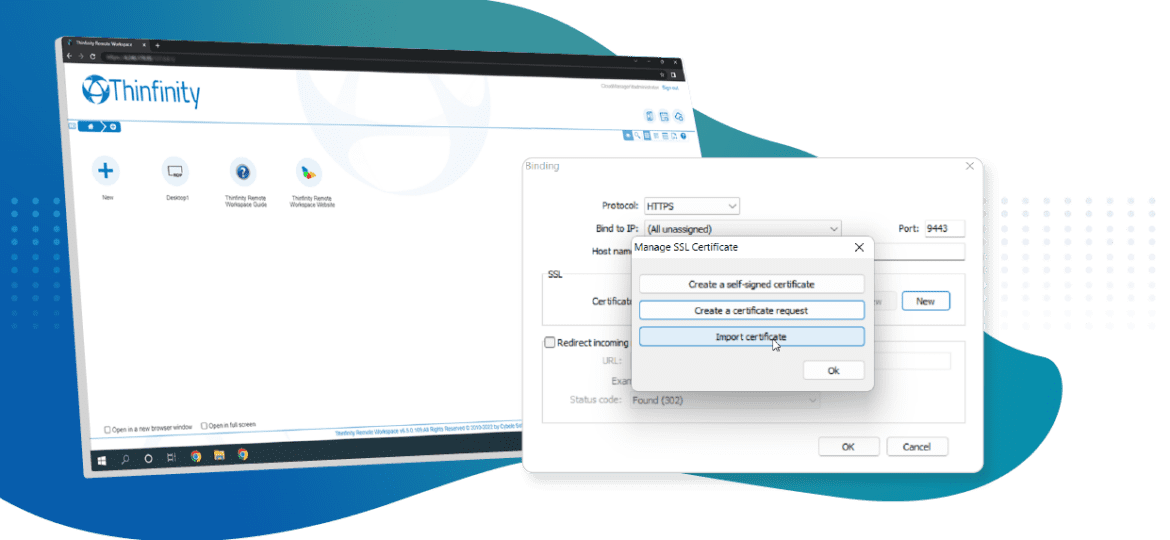
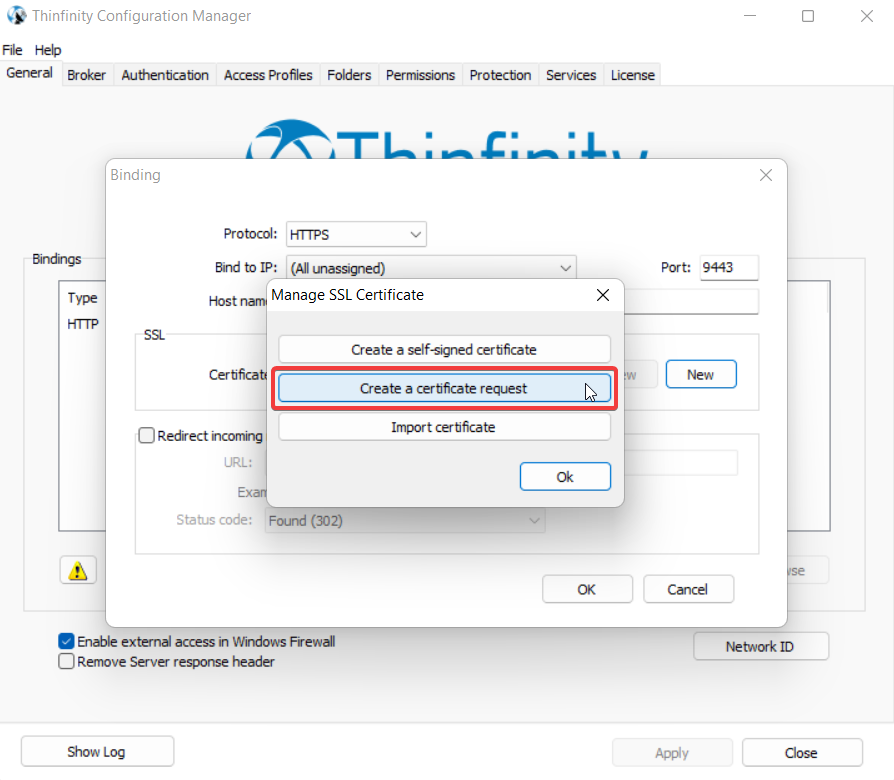
On this screen, click on “Create a certificate request” and then “Ok”

Create a certificate request and add it in Thinfinity Remote Workspace, step 03

In here fill the blanks with your information, and when you finish click “Create”.

Create a certificate request and add it in Thinfinity Remote Workspace, step 04

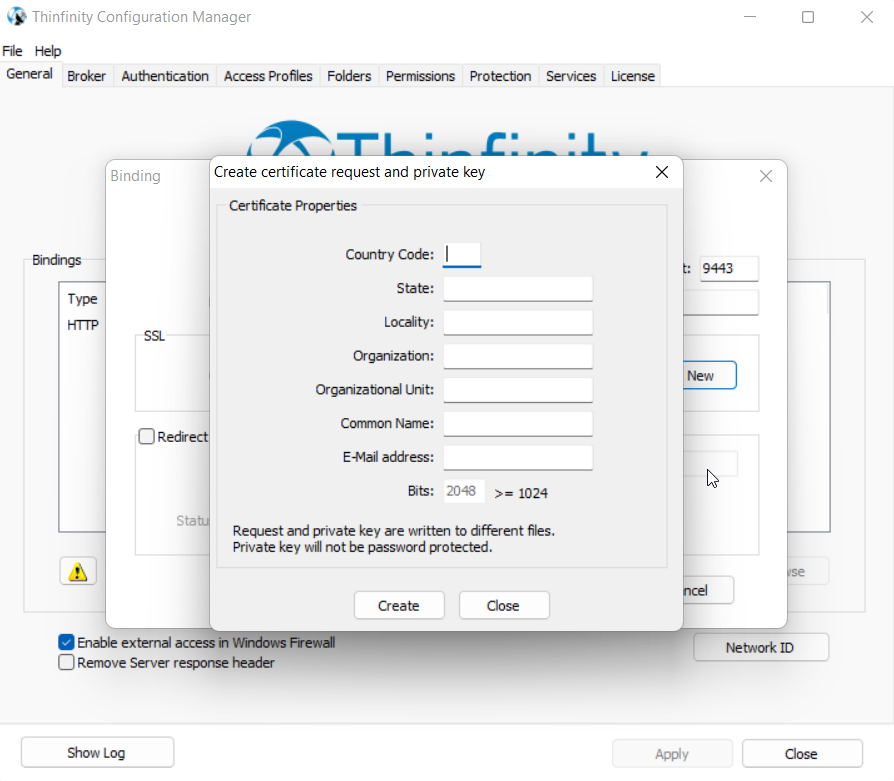
When you create the certificate request, you will create two files “Request” and “Private key” , please save both files.

After you have the request you can get your certificate in “Let’s Encrypt”, Verisign, GoDaddy or a similar provider.

Once you acquire your certificate, you must import it to Thinfinity Workspace. We recommend using a Pfx format for your certificate.

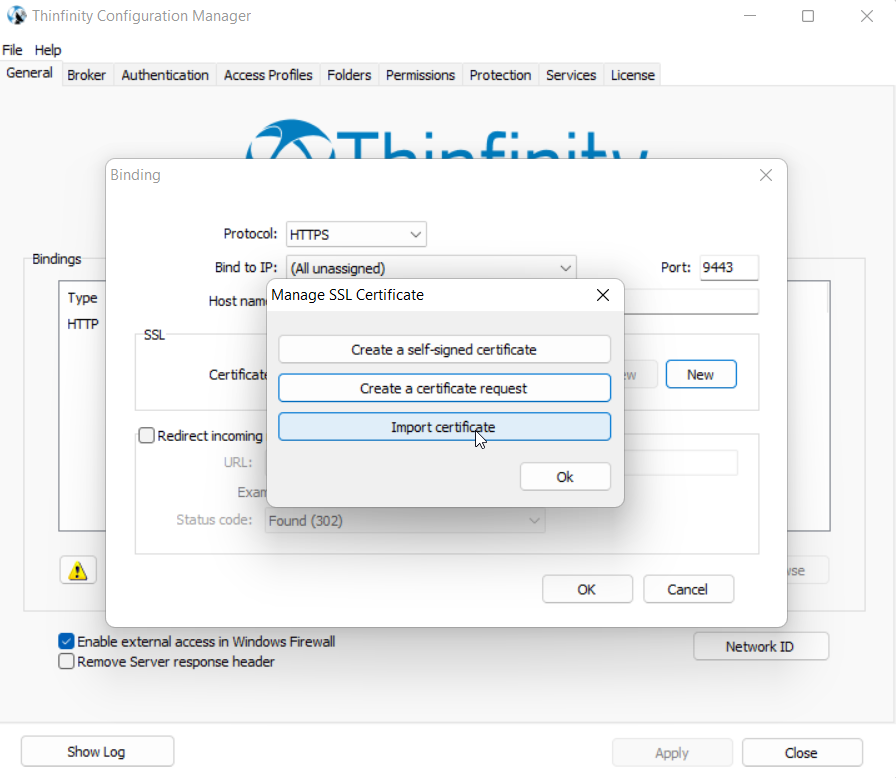
In order to update your certificate, Select “New” and then “import certificate”.

Create a certificate request and add it in Thinfinity Remote Workspace, step 05

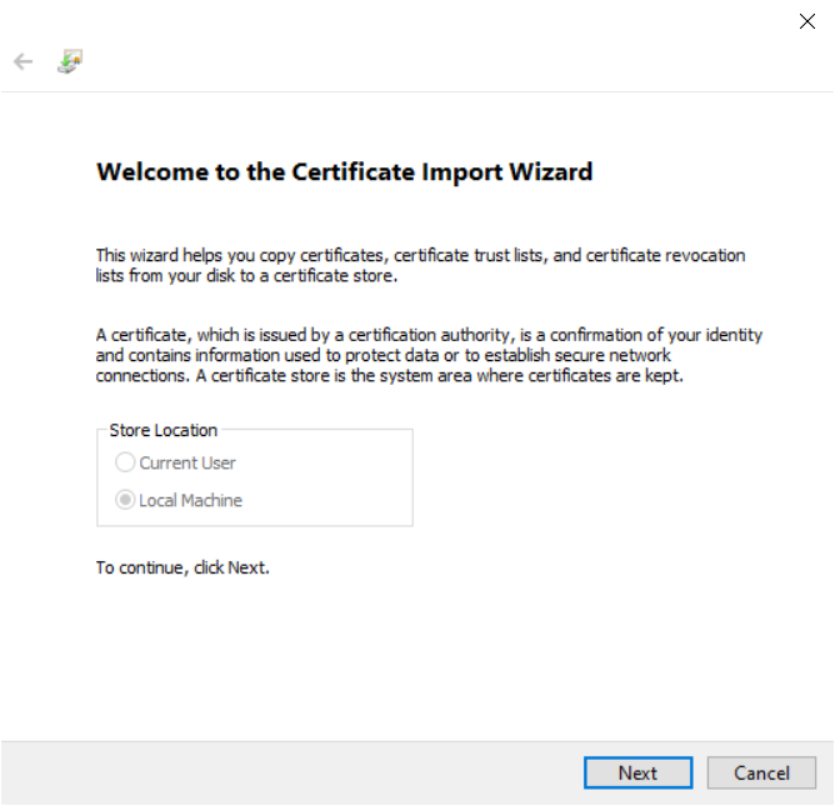
On the certificate Import Wizard, press “Next”.

Create a certificate request and add it in Thinfinity Remote Workspace, step 06

Select the certificate, and then, press “Next”.

Create a certificate request and add it in Thinfinity Remote Workspace, step 0Create a certificate request and add it in Thinfinity Remote Workspace, step 07

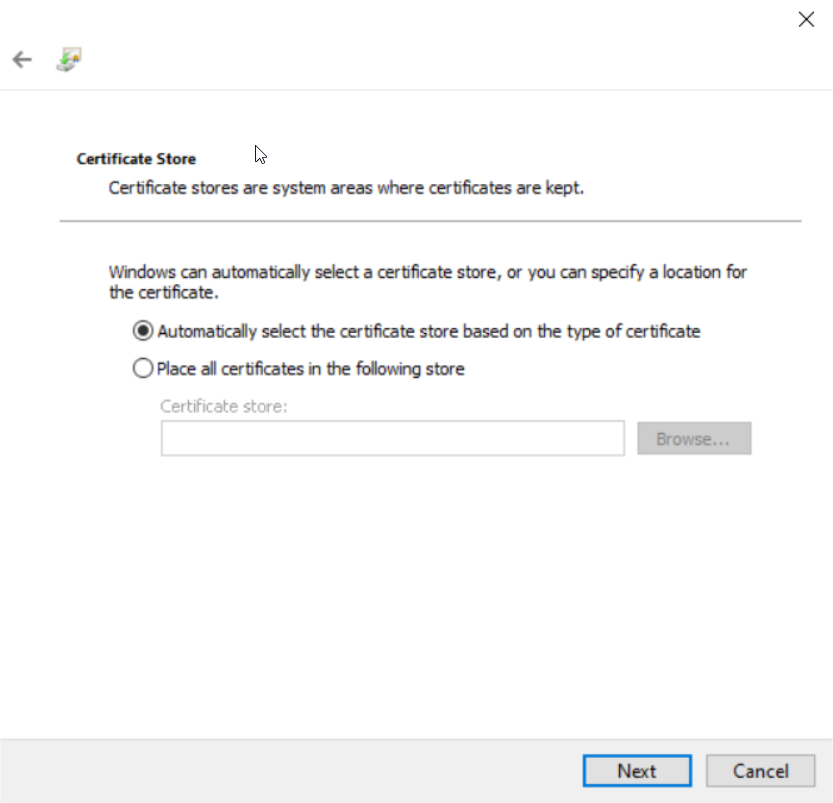
After this, you will choose the option “Automatically select the certificate store based on the type of certificate”

Create a certificate request and add it in Thinfinity Remote Workspace, step 0Create a certificate request and add it in Thinfinity Remote Workspace, step 08

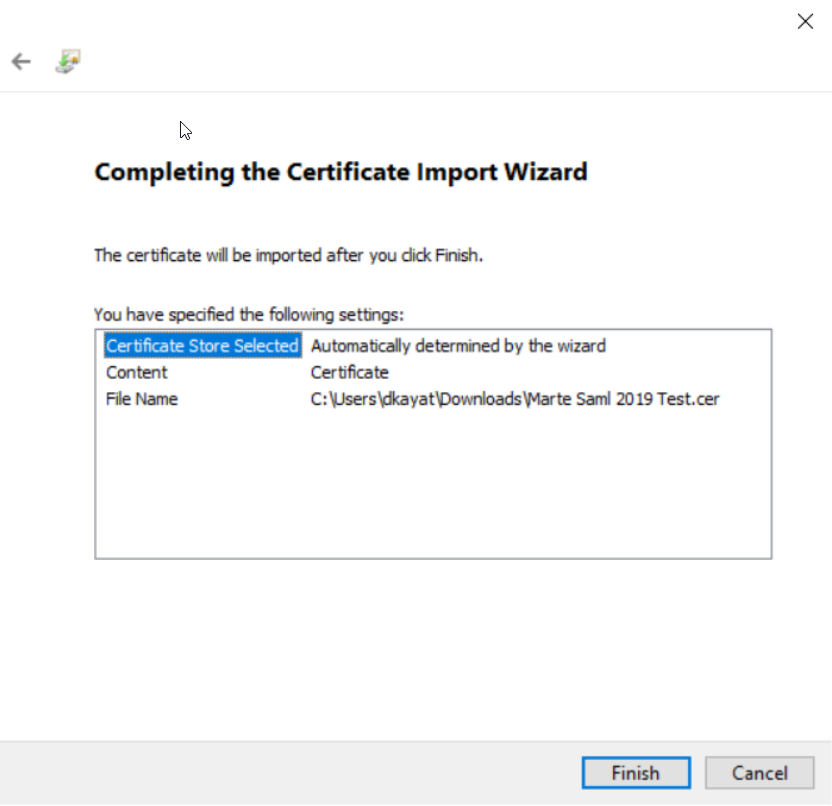
On this screen, you will hit “Finish”.

Create a certificate request and add it in Thinfinity Remote Workspace, step 0Create a certificate request and add it in Thinfinity Remote Workspace, step 09

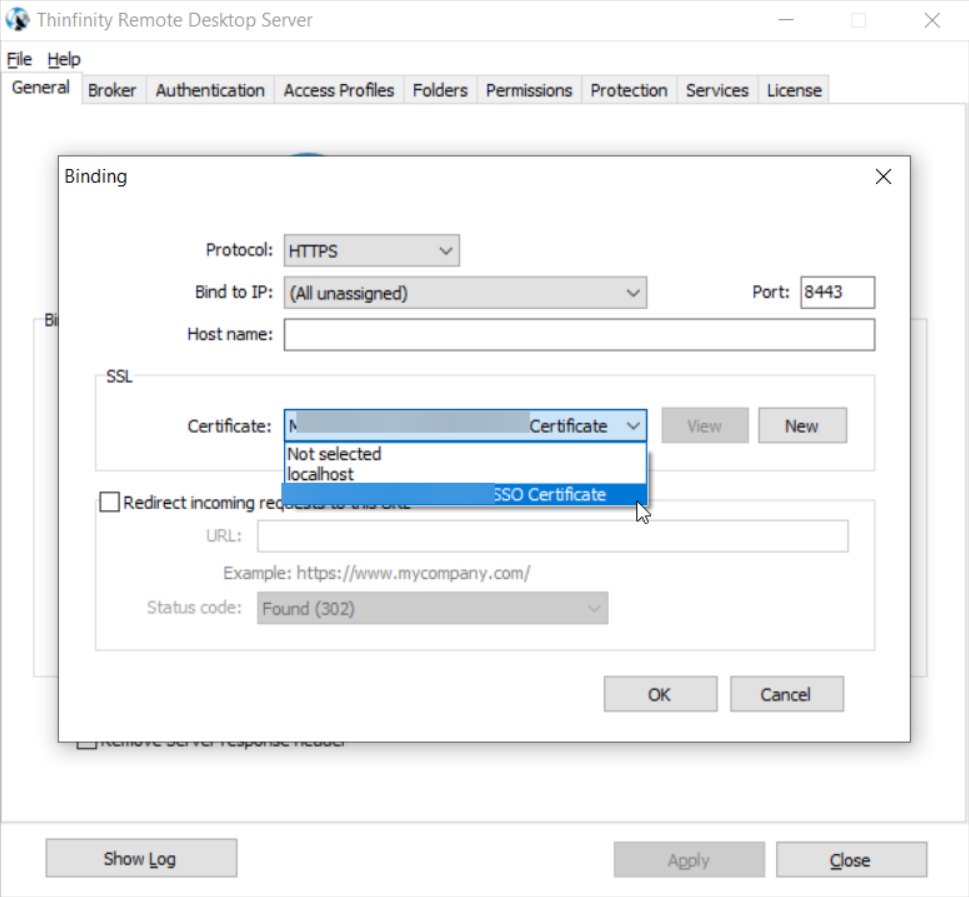
After this, you should be able to see the certificate on the dropdown menu.

Create a certificate request and add it in Thinfinity Remote Workspace, step 0Create a certificate request and add it in Thinfinity Remote Workspace, step 10

Just to ensure it updates, you can restart the Thinfinity® Workspace service.


Thinfinity_logo
Have any questions?
Book a call today to learn more about how Thinfinity can help your organization. We are always available to guide you and provide the best solution based on your specific needs.

Have any questions?

Book a call today to learn more about how Thinfinity® can help your organization. We are always available to guide you and provide the best solution based on your specific needs.

Add Comment

Thinfinity-blue-logo
Get a Demo
Experience how Universal ZTNA with Thinfinity integrates with VDI and DaaS for unmatched security and flexibility.
Thinfinity_logo

Get a Demo

Experience how Universal ZTNA with Thinfinity® integrates with VDI and DaaS for unmatched security and flexibility.

Blogs you might be interested in

<span>Certificate Management</span>, <span>Configuration</span>, <span>IT Security</span>, <span>Secure Access</span>, <span>SSL certificate</span>, <span>System Administrator</span>, <span>Thinfinity Workspace</span>